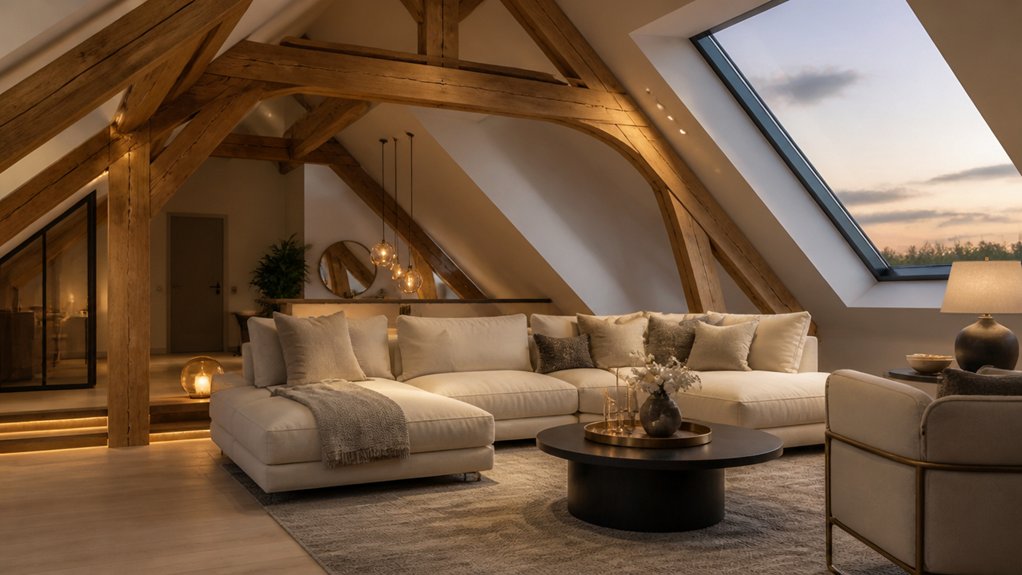
Before planning a luxury attic conversion, have a qualified professional check whether the roof structure and floor can safely carry the added weight of flooring, furniture and occupants. Sloped ceilings can limit usable space, so place walkways and regularly used furniture where there is the most headroom, and consider built-in storage beneath the eaves.
Roof windows can bring in daylight without changing the roofline, while dormers can add headroom and usable floor area but usually involve more structural work. Choose durable finishes that suit the space, and allow for insulation, heating, wiring, any plumbing, structural work and permits. Ask the local building department which approvals apply, and confirm the requirements before work begins.
Key Takeaways
Before adding floors, furniture or occupants, have a structural engineer check the rafters, joists, walls and foundations. Ask whether the existing structure can carry the added load and what strengthening, if any, is needed.
Check for roof leaks, damp, mould, pests, poor ventilation and faulty wiring before covering anything up. Have roofing and insulation defects dealt with first; otherwise, problems can be harder to find and more costly to repair later.
Measure the headroom and plan walkways and frequently used furniture where the ceiling is highest. Low eaves can suit built-in storage, but check that doors and drawers will open properly and that stored items remain easy to reach.
Place roof windows to bring daylight to the areas where you need it and, where possible, frame a useful view. Weigh that against glare, privacy, heat loss and the risk of poor flashing; ask the local building department whether permits or other approvals are required.
For a lasting finish, choose durable materials, warm neutrals and restrained patterns, with joinery that suits the room. Keep the palette cohesive, but consider how much natural light the attic gets, since darker finishes can make a low-ceilinged space feel smaller.
Is Your Attic Ready for a Luxury Conversion?
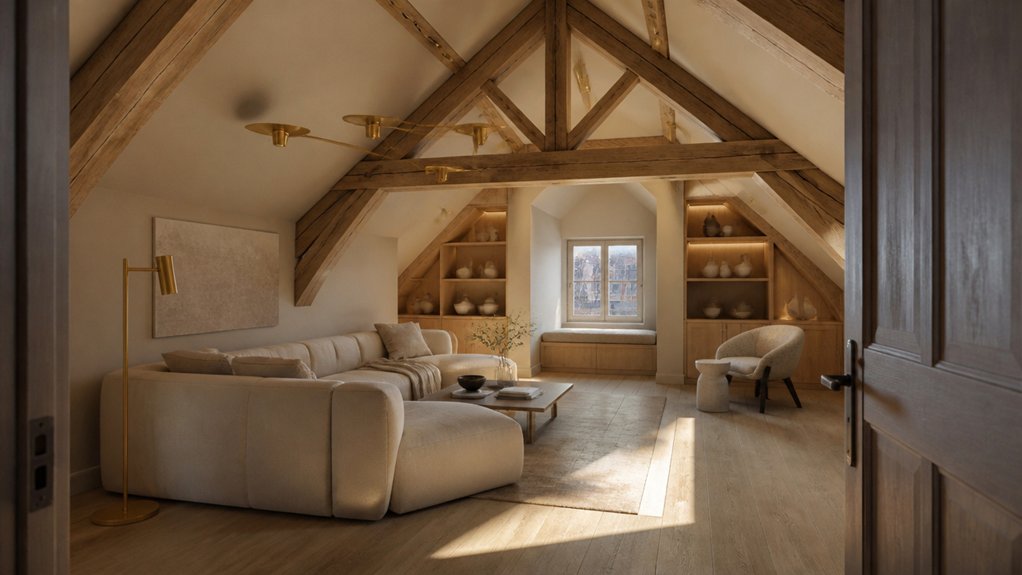
Before planning a luxury attic conversion, have a structural engineer check whether the roof space can take the extra load. Ask them to inspect the rafters, joists, supporting walls and foundations. New floors, finishes, furniture and people all add weight, so some parts of the structure may need strengthening. An empty attic isn’t proof that its supports have spare capacity; older roof members may not have been designed for a converted room.
Look for leaks, damp, mould, pests and poor ventilation before work begins. If these problems are covered up, they can damage new materials and lead to repairs later. Have the roof covering, insulation and wiring checked as well, and ask what needs fixing before the finishes go in. A professional assessment gives you a sound basis for deciding whether to proceed and what work the conversion will involve. Check with your local building department about applicable permits and requirements.
Plan a Layout Around Sloped Ceilings
Once you’ve confirmed the attic can support a conversion, map the headroom before settling on a layout. Mark where you can stand and move comfortably, then keep walkways and frequently used furniture in the tallest parts of the room. Low eaves are better suited to built-in drawers, shelves or storage; check that doors and drawers can open without fouling the roof slope.
Choose furniture to fit the roofline instead of forcing standard-sized pieces into awkward corners. A low bed, fitted banquette or custom desk can make a restricted area useful, though built-ins leave less flexibility if you change the layout later. Sloped roof surfaces can also affect sound, so use rugs and upholstered furniture to soften the room. A careful plan helps you make good use of the floor area without making the attic feel cramped.
Bring in Light With Roof Windows and Dormers
Roof windows can bring useful daylight into an attic, but check the roof structure, insulation and flashing before choosing where they go. Poorly fitted flashing can let water in, and added openings may need structural changes.
Dormers provide more headroom and can make larger windows possible, but they alter the roofline and usually involve more building work. Plan openings around the views you want, then check local requirements with your building department before work begins.
Maximize Natural Light
Natural light can make an attic feel larger and more welcoming, but placement matters. Put roof windows where they’ll light the areas you use most, and consider glare on screens and shiny surfaces. Poorly placed windows can leave corners dim or make parts of the room uncomfortable at certain times of day.
Before choosing window sizes or positions, check the roof’s orientation, the room layout and how you plan to use the space.
Light-coloured walls and simple window coverings help daylight travel farther, though coverings may be needed for privacy or to control glare. Coordinate the windows with your furniture, electric lighting and insulation plans, and ask your builder how each option will affect comfort and the roof structure.
Add Dormer Windows
Dormer windows can brighten an attic, add headroom and make more of the space along the roofline usable. Choose a shape and finish that suit your home, and check how the dormer will look from outside as well as how it will work inside. A well-positioned window can make a sloping ceiling feel less cramped and leave room for a desk, reading nook or built-in storage.
Plan the opening around your room layout and the sun’s path. The direction and size of the window affect how much light comes in, and may also bring glare or extra heat; roof windows can help carry daylight further into the attic. Before settling on a design, ask an architect or contractor to check the roof structure, insulation details and how the work will affect the existing roof. Check with your local building department about permits and applicable requirements before construction.
Frame Elegant Views
Well-placed windows can make an attic feel brightererand more open, while framing views of gardens, town or distant hills.
Roof windows bring light into the centre of the room; dormers provide more generous views and can add usable headroom, but they change the roofline and usually involve more structural work.
Before choosing positions, check the sun’s path, nearby buildings and sightlines into neighbouring homes.
Poor placement can leave the room too hot, unevenly lit or short on privacy.
Ask your builder how each option will affect the roof structure, insulation and weatherproofing, and check with your local building department about permits and requirements.
Choose window proportions and finishes that suit the roof and the rest of the house.
The right glazing and careful detailing help keep the room comfortable and make the new windows feel like part of the original design.
Choose Finishes That Make the Space Feel Luxurious
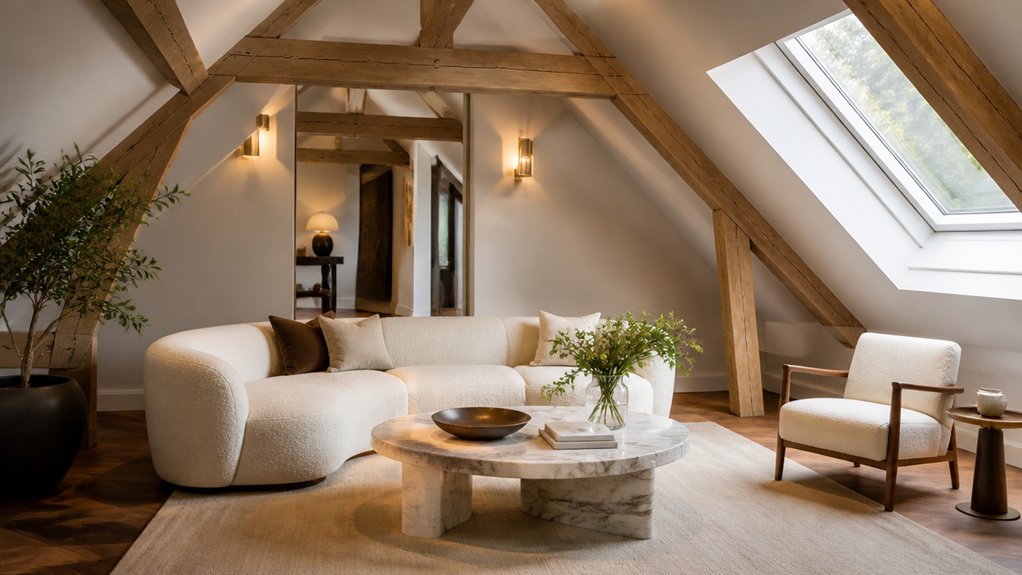
When choosing finishes for an attic conversion, start with materials that suit the roofline and can stand up to daily use. Warm neutrals, restrained contrasts and well-made details help sloping ceilings feel deliberate rather than cramped.
Engineered oak is generally more stable than solid wood when temperatures and humidity vary, while natural stone is hard-wearing but heavier and may need extra support. Check the floor structure before choosing stone, and ask how each material should be maintained. Wool and linen add texture; use them sparingly, as too many patterns or heavy finishes can make a small room feel crowded.
Keep the colours and materials consistent so daylight can bring out the shape of the space. Choose fixtures with simple lines, and check their finish and weight in person where possible. A restrained scheme is often easier to live with than ornate detailing, and can still make the room feel polished and comfortable.
Add Bespoke Storage Without Losing Floor Space
Use the space beneath the eaves for built-in drawers, and have wardrobes made to follow the roofline. This keeps storage off the floor, but check that doors and drawers will open fully where the ceiling slopes. Hidden compartments can keep everyday essentials close; make sure you can reach them without shifting furniture.
Built-In Eaves Storage
Built-in eaves storage makes use of the low, sloping space under a roof, where standard furniture often won’t fit. Cupboards, drawers, shelves and pull-out trays can keep seasonal items, linens and everyday belongings close without taking up floor space. Measure the usable depth and height first, and check that doors and drawers can open without blocking a walkway.
The layout needs to work around rafters, insulation and access points. Ask the designer or builder how these will be handled, and whether the storage will allow access for inspection or repairs. Fitted units make better use of awkward recesses, while open shelves are simpler to reach and adjust; your choice of doors and finishes also affects how the room looks and feels.
Keep the design in keeping with the attic and avoid filling every low section if it makes the room feel cramped. Soft-close hardware and integrated lighting can be useful, but add fittings only where they solve a practical problem. A careful site measure helps prevent wasted space and awkward gaps.
Custom Wardrobes
Eaves cupboards work well under a low roofline, while custom wardrobes need enough headroom for full-height storage. Measure the roof pitch, wall dimensions and clearances first; a wardrobe that’s too deep can crowd a bed or narrow a walkway.
Sliding doors need less clearance than hinged doors, but check that the tracks and doors won’t obstruct nearby furniture. Plan shelves, drawers and rails around the clothes and accessories you own, and ask how the interior will be lit. A suitable finish can help the wardrobe fit the room, while careful sizing makes better use of awkward attic space without taking up more floor area than necessary.
Hidden Storage Solutions
Hidden storage can make awkward attic corners useful without filling the floor. Before choosing a design, check the roof slopes, eaves and alcoves, and leave enough headroom and clear floor space for everyday use. Built-in drawers beneath a window seat keep linens handy; shallow cabinets can follow the roofline, though they may hold less than deeper units.
Ask your designer how compartments in stair risers, wall panels or platform beds will be accessed and supported. Retractable bins under the eaves or inside cabinetry are flexible, but they need enough clearance to slide out without catching on flooring or stored items. Match finishes to existing wardrobes and joinery if you want the storage to sit quietly within the room. Careful planning adds useful capacity while keeping walkways clear and the attic orderly.
Budget for Insulation, Services, and Building Work
An attic budget needs to cover more than finishes. Insulation, heating, electrical work, plumbing and structural changes all affect comfort and cost. Before setting aside money for insulation, check the roof construction, ventilation requirements and local energy standards. Better materials can cost more at the outset, but may help keep temperatures steadier and reduce energy use.
Get detailed quotes for extending heating, wiring or plumbing into the attic. The work can become more involved if existing systems need upgrading, so ask each contractor what their quote includes, what it excludes and what could add to the cost. Check with your local building department about applicable permits and requirements.
Set aside funds for structural work, such as strengthening joists or altering the roof. A survey can identify problems before work starts, when they’re easier to plan for. Put safety and performance ahead of decorative upgrades; it’s better to finish the essentials properly than to cut corners and face costly repairs later.
Frequently Asked Questions
How Long Does a Luxury Attic Conversion Typically Take?
A luxury attic conversion often takes 8 to 16 weeks once building work begins. The schedule depends on the attic’s size, structural work, finish choices and required approvals, so ask your builder what’s included in the estimate and what could extend the programme.
Major roof changes, complex plumbing or planning approval can add time. Allow for inspections and unexpected problems, and make key decisions early so materials and trades can be organised. Keep track of costs as the work progresses; changing finishes or details late can affect both the budget and the schedule. Check permit and code requirements with your local building department.
Do Attic Conversions Require Planning Permission?
An attic conversion may not need planning permission if it falls within permitted development rules, but that depends on your property and the proposed design. Check with your local planning department before work starts, especially if the conversion will alter the roof’s appearance, exceed local limits or affect a protected property.
Planning permission is separate from building regulations. The work still needs to meet local requirements for structural safety, fire protection, insulation and ventilation. Ask your building department which rules apply, and choose materials that suit the structure and help limit heat loss.
Will a Luxury Attic Conversion Increase My Home’s Value?
A well-planned attic conversion can add useful living space and may increase your home’s value. A bright bedroom with an en-suite can appeal to buyers, but check that the roof has enough headroom and that the floor, stairs, insulation and ventilation can be dealt with properly. These details affect both the build cost and how comfortable the room will be.
The return depends on local buyer demand, the quality of the work and the total project cost. Compare those factors before committing, and check with your local building department about permits and applicable requirements. Good design can strengthen the home’s appeal, but no conversion guarantees a higher sale price or that you’ll recover the full cost.
How Can I Minimise Disruption While the Conversion Is Underway?
Before work starts, agree on working hours, access routes and how the crew will keep the site tidy each day. Ask how deliveries, inspections and noisy work will be scheduled around your household, and who to contact if plans change.
Move or cover belongings, seal off the work area, and keep children and pets out of active zones. Regular updates and one named site contact make it easier to deal with problems early. If the noisiest or dustiest stages will disrupt work or sleep, consider setting up a temporary workspace or staying elsewhere; weigh that inconvenience against the disruption of remaining at home.
What Warranties or Guarantees Should I Expect From My Contractor?
Ask for written warranties covering materials, structural work and installed systems, along with a clear guarantee for the workmanship. The contract should spell out what’s covered, how long it lasts, what’s excluded, how to make a claim and who’s responsible for passing on any manufacturer warranties.
Check whether the guarantees can be transferred if you sell the home, and whether they’re backed by insurance or an independent scheme. Get every promise in writing before work starts; if a defect appears later, clear paperwork is more useful than a verbal assurance.